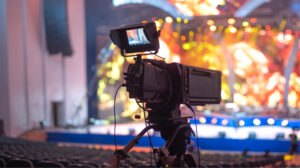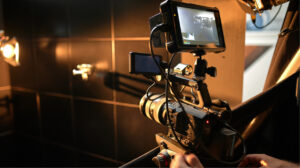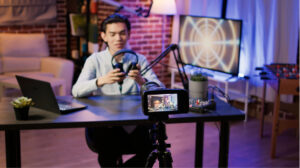
You may have noticed or it may have slipped by your perception, but almost all of the video content you see in the movies and on TV has been enhanced by computers. Whether it’s as simple as changing the color of an object on screen, or erasing an unwanted sign or license plate to intense processes such as completely rendering an entire world in 3D computer space, the video content you see is most likely manipulated somehow. You might be surprised to find out that the majority of cars in commercials these days are computer generated. “But they look so real,” you say? Well, the art of computer animation really is THAT good in the right hands.
Now, computer animation is very attainable for smaller projects. McElroy Films now has the means to portray products in 3D or create environments in 3D space and go where traditional video shoots cannot. Want to show a cutaway of your product? 3D animation can make it happen. Want to show very large or microscopic objects easily? Render them in 3D. Want to add pizzaz to your logo or branding? 3D can help that too. The world of 3D is limitless and a project is only limited by your imagination. Here, we want to show you how a 3D project goes from an idea to the screen.

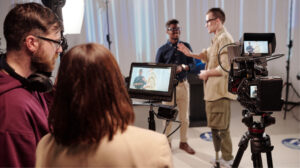
1. As in any video project, the first step is to create an idea that concisely and accurately conveys your message. A producer translates your ideas into video terms and may storyboard or script a project so you can see how the video will play out before it is even shot or edited. This preproduction process is critical and helps you save money. The fewer changes late in a process, the less editing and animation time are required.
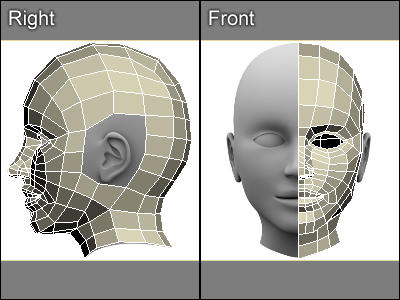
2. Once a concept is in place for 3D animation, the animator takes over and starts the Modeling process. During this process, the animator creates every 3D object that will be included in the final product starting with a virtual wire frame. The wire frame is like a skeleton for each object and is the basis for the shape. The skeleton may have ‘hinged’ portions that allow for moving parts further on in the process. Modeling is often the longest part of the animation process because it is essential that the wire frame skeleton be accurate for the final product to look as close to a real object as possible. Some clients have been able to save time and money by providing 3D CAD files of products to the animator. The 3D CAD drawings may need to be tweaked a little, but essentially serve as the wire frame.

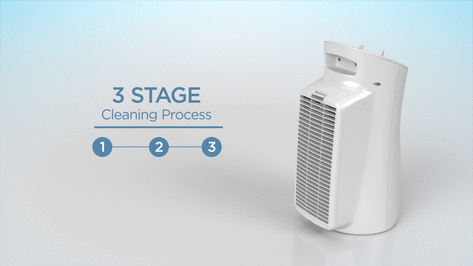
3. The next step is Texturing. In the texturing process, the animator applies a sort of covering over the wire frame created in the modeling phase. This process is similar to paper maché where the texture starts flat and then wrapped around the wireframe. The texturizing process is where an object gains realism. A gold object, for instance, would need to textured with a layer that is both accurate in color and the luster of gold. Skin on a face would need the right hue and detail to seem real. When texturizing 3D objects that actually exist in real life such as products (Fans, cars, etc.), the animator will actually carefully photograph the object and use the resulting photos to texturize the model.

4. After all the objects are modeled and textured, the animator will place them in 3D space and light them. This Lighting phase is very similar to lighting in the real world in that simulated light is strategically placed in the 3D environment to make sure that the object is visible, but also determining shadows and contrast.
5. The next step is to add particles to an animation. If the idea calls for fire and smoke, the animator will add those ‘particles’ of fire and resulting smoke in this phase. Particles range from fluids, sand, clouds, weather (rain/snow) and other similar phenomenon.
6. After all the Modeling, Texturing, Lighting, and Particle Additions are complete, then begins the actual animation process. ‘Animation’ is the actual manipulation of objects in space over time. It is a very mathematical process where the computer is told where an object is moving (Point A to B) and how fast (The period between point A and B). Depending on many factors, this process can take quite a bit of time, but it is where the actual magic of the video happens; when the object is given life.
7. When the animator is happy with the animation, the project is put through a rendering process. Rendering is essentially telling a computer to finalize the animation so that it can be viewed in real time. Because of the complexity and high definition nature of animation, often, the animator can’t even watch his progress until after the animation is rendered. This process has everything to with computer processing power and can take anywhere from a few seconds per video frame to hours depending on the scope and scale of the project. When it comes to budgeting a 3D animation project, a good way to make sure to keep costs low is to make sure the animator only has to render the project once. If there is a great plan in place from the beginning of the project, there will be fewer problems down the line.
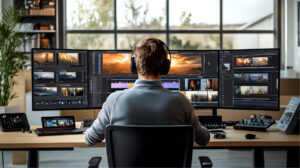
 8. The final stage in the animation process is the Editing stage. It is here that components such as sound, music, titles, and voice over are inserted into the video and the final touches made. It’s very tough for us video production folks to escape this fact, but it’s true: Sound is everything and can make or break a video. A video can look gorgeous, but if you put an inappropriate music selection or voice over under the video, it will be unwatchable. The editor in this stage helps make sure that the beautiful animation is given a proper audio treatment.
To see some examples of our 3D animation work check out our portfolio.